


Log In / Register
Basket
 Free delivery on orders over £75 ex VAT
 Free click & collect from branches nationwide
 Buy now, pay later interest free
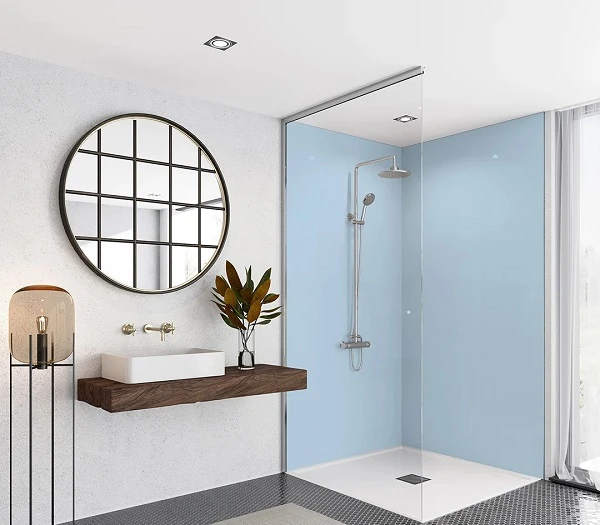
What are shower wall panels?
Shower wall panels have increased in popularity for bathroom renovations which is thanks to their versatile nature. They are perfect for creating attractive feature walls or replacing bathroom tiles throughout the bathroom.
Offering a modern and sleek finish, shower wall panels are an ideal substitute for traditional tiles. Whether you are curious about the installation process or an experienced DIY’er looking for instructions, our comprehensive guide will help you complete your bathroom renovation.
Key benefits of shower wall panels compared to wall tiles
- Quick and easy installation: install shower wall panels faster than tiles without the need for a specialist tiler.
- 100% watertight: no grout is needed, ensuring a fully watertight finish.
- Cost-effective: many wall panels are more cost-effective per square metre compared to wall tiles.
- Versatile application: you can fit panels over current wall coverings like tiles which eliminates the need to remove old coverings.
- Easy to clean: An effortless wipe with a cloth keeps them looking immaculate.
- Lengthy guarantees: for added peace of mind.
Choose your shower wall panels
You have hundreds of colours and designs to choose from at City Plumbing. We offer an extensive range of shower wall panels.
Before installation
Step 1:
Measure the entire wall area you intend to cover. This will determine how many shower wall panels you need.
Step 2:
If any of your panels need cutting, we offer various width options to simplify the process. To cut your panels to size, mark the area to be removed with masking tape to protect the edges. Use a hand saw or electric saw for cutting.
Step 3:
Sand down any cut edges and the back of the boards as needed. This should create texture and make the board coarse allowing adhesives to stick better to the surface.
Fitting your shower wall panels
Step 1
To fit the panels together, start with the corner trim piece. Apply a small bead of sealant to the wall and place the corner piece in position. Place tile spacers under the wall panel to allow room for the sealant which will go on later. Once the corner trim is in place, you can apply the sealant to the rear side of the wall.
Step 2
Lay three parallel strips of foam tape along the entire length of the panel. Apply a thin line of sealant down either side of the panel, then zig-zag the sealant across the top and bottom for better coverage. Finish with large circles of sealant to ensure even distribution.
Step 3
Fit the end trim piece to the panel. Apply sealant to the inside of the trim and the very edge of the wall panel. Position the trim in place. After adding sealant to the corner trim piece, remove the backing layer from the foam tape.
Step 4
Lift the panel into place and slide it into the corner piece at an angle. This prevents the tape from sticking to the wall until the panel is correctly positioned.

Step 5
Repeat the process with the remaining wall panels, and ensure they are correctly positioned before pressing firmly down. For a less visible join, use the tongue and groove joints. Apply masking tape to these areas to maintain a neat finish when adding sealant.
Step 6
Slide the panel into place and remove the tape. Finish the joint by running a silicone finishing tool along the groove. Use the same technique to seal the panels to the floor. Apply a little sealant, and you're done.
Help & Feedback
 Chat With Us
 Give Us Feedback