Many homeowners are looking to cut costs on maintenance and repairs around the home, and the bathroom is no exception. As one of the busiest rooms in the home, when something needs replacing in this space getting it sorted quickly remains a top priority for most.
Yet, if you’re looking to stay on budget, you may want to use your DIY skills and replace bathroom parts by yourself. From leaky taps to sealing around the shower, City Plumbing has got you covered.
With our highly sought-after Spares Finder and dedicated Bathrooms section, we’ve got all the replacement parts needed to keep your bathroom functioning all year round.
Here we look at how you, with a little know-how and the right tools and replacement products, can tackle common bathroom repairs yourself to save time and money.
Why Replace Bathroom Parts Yourself?
A lot of homeowners consider DIY bathroom repairs when faced with tackling those minor tasks. Hiring a plumber or handyperson to fix such minor issues in this room can quickly add up in costs.
Yet, by taking on some of the repairs that you feel confident to do by yourself, you can save money all the while gaining a sense of accomplishment.
The Benefits of DIY Bathroom Repairs
- Reduced Costs: Small DIY repairs are much more affordable and prevent you from hiring a professional.
- Convenience: By fixing the problem yourself, you can do this job at your own pace and according to your own schedule.
- Skills Development: Learning how to replace bathroom parts can give you valuable knowledge and experience, which is especially helpful for future projects.
- Pride in Accomplishment: There's nothing quite like the satisfaction of fixing something yourself, especially if you’re a DIY beginner!

Find Bathroom Parts For Sale at City Plumbing
There are two easy ways to get your bathroom parts from us at City Plumbing. The first is via our immensely popular Spares Finder and the second is our sought-after dedicated Bathrooms section:
- Use City Plumbing Spares Finder For Replacement Bathroom Parts
This is a valuable tool for both homeowners and those in the trade when looking to swap out inefficient or broken parts. If you know the part you need, have the exact part number, and want to replace it like-for-like, this is the best place to start.
Our Spares Finder allows you to search by appliance GD and part number or even by manufacturer. What’s more, if you’re unable to locate your part, your local City Plumbing branch will be more than willing to help you.

Here are just a few of the categories you’ll find in our dedicated Spares Finder section:
- Accessories
- Corner Entry Right Hand
- Shower Door Roller
- Shower Door Runners
- Shower Pump
- Wall Profile Extension
- Bath Waste
- Connector
- Filter Cartridge
- Lever
- Reducing Hose
- Shower Rail
- Tap Gland
- Tap Head
- Tap Insert
- Tap Spare
- With Isolating Valve
- Without Isolating Valve
- Adjustable Elbow Pack
- Bath Filler Tap
- Hand Shower
- Mixer Showers
- Regulator and Hose
- Seal Kit
- Shower Kit
- Tile Adhesives and Grout
- Wall Bracket
- Wall Union
- Adjustable Flapper Valve
- Ball Valve
- Basin Wastes
- Bottom Entry Fill Valve
- Bottom Entry Inlet Valve
- Cable Operated Valve
- Cistern
- Cistern Linkage
- Cistern Repair Pack
- Cistern Syphon
- Discharge Valve
- Duo-flush Syphon
- Fill Valve
- Filling valve
- Float Valve
- Flush Pipe
- Flush Valve
- Flushing Cistern
- Handle
- Inlet pipe
- Inlet Valve
- Lever
- Levers
- Outlet Piston
- Rubber Bellows
- Servo Discharge Valve
- Side Entry Fill Valve
- Support Bracket
- Syphon
- Toilet Seat Fixings
- Torbeck Valve
- Urinal Cartridge
- Urinal Flush Pipes
- Valve
- Wall Bracket
- Use The Bathroom Showroom at City Plumbing For Replacement Bathroom Parts
As well as our Spares Finder, we have an enormous selection of bathroom products available from The Bathroom Showroom.
So, if you're not yet looking for a full new bathroom suite but need to update any old, worn-out bathroom products, we have a huge selection to choose from, covering several bathroom categories.
This will help to keep your bathroom running smoothly, without going over budget.

Essential Tools and Supplies
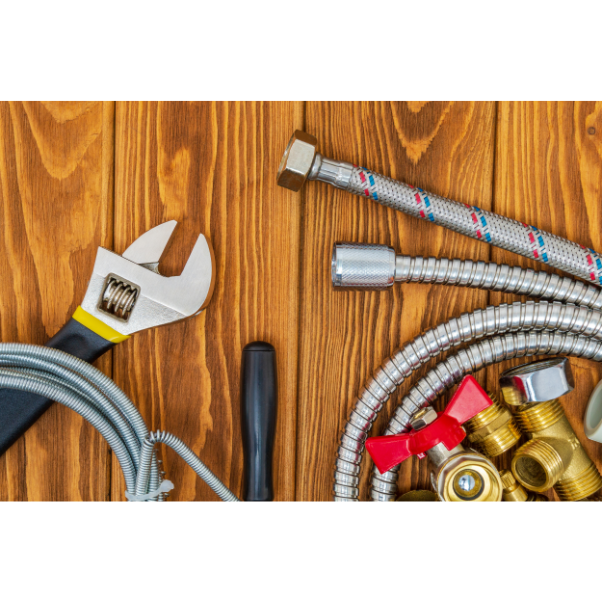
Before you start replacing bathroom parts, make sure you have the essential tools and supplies to hand, as well as the replacement item. The most common items needed for such DIY tasks may include:
- An adjustable wrench
- A screwdriver set
- Some plumber's tape
- Your replacement part/s
- Safety goggles and gloves
- A bucket or container for catching water
Quick Guide to Replacing Bathroom Parts
1. Identify the Problem
The first step in replacing bathroom parts is to identify the issue. Is your bath tap or basin tap leaking? Is the toilet handle not flushing properly, or has the water pressure in your shower noticeably dropped lately? Once you pinpoint the exact problem, you can move on to finding a solution.
2. Gather Necessary Supplies
Once you know what needs to be replaced, gather all the necessary tools and supplies. Having everything you need before you start the repair ensures no delays halfway through the job.
3. Turn Off the Water Supply
Before you begin any work in the bathroom, always make sure to turn off the water supply. This will prevent any leaks or spills and help ensure the repair process is much smoother.
4. Remove the Old Part
Using your adjustable wrench or screwdriver, carefully remove the old bathroom part that needs to be replaced, taking your time to avoid causing any damage.
5. Install the New Part
Once the old part is removed, follow the manufacturer's instructions carefully to correctly install the new bathroom part.
6. Test the Repair
After installing your new bathroom part, turn the water supply back on and test the repair. This is the time to check for leaks, make sure it's functioning correctly and note the overall performance.

Inject New Life Into Your Bathroom Without Breaking the Bank
Finding the right replacement part for your bathroom can help keep this space functioning. Helping you to cut costs, City Plumbing offers you two fantastic solutions when it comes to repairing, replacing, and upgrading fixtures and fittings in this room.
If you’re looking for further bathroom inspiration, take a look at our City Plumbing website.


